Description
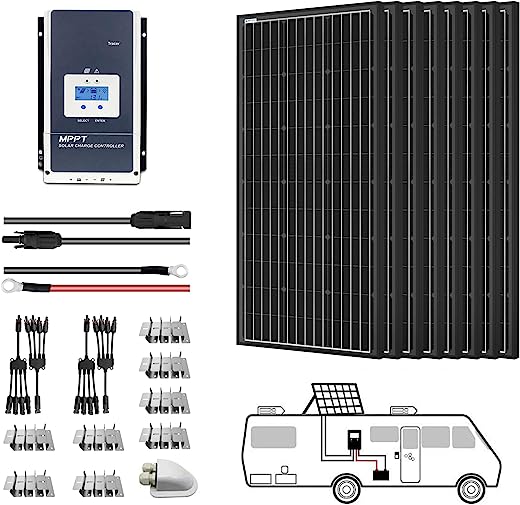
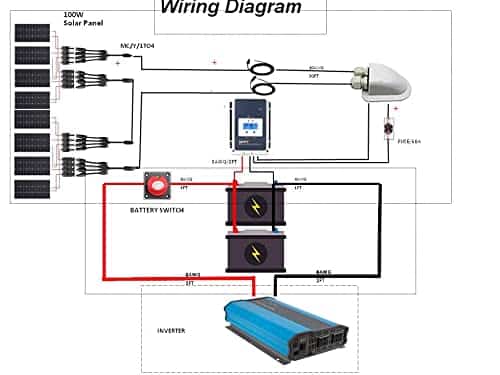
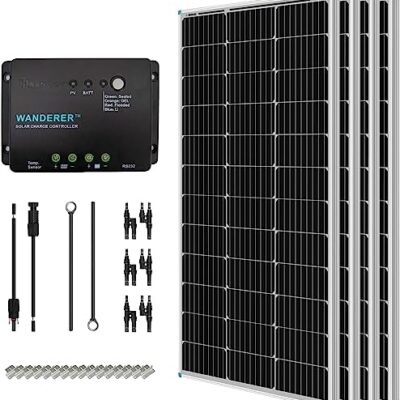
- 8PCS ACOPOWER 100-Watt monocrystalline solar panels can be connected in parallel by branch connectors or connected in series without any connectors; Dimension:40.2 x 20.1 x 1.4 Inch; 60A MPPT Charge Controller
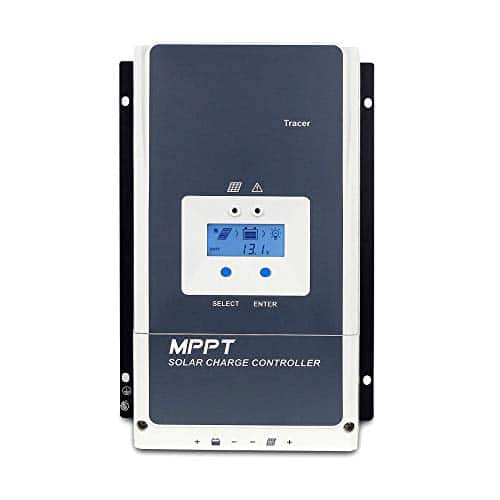
- MPPT Solar Charge Controller has user adjustable settings! LCD Screen shows, voltage, solar panel status, battery state of charge, and DC load draw. See Image in photo gallery for all LCD Screen readouts. Compatible with lead acid, AGM, gel, and lithium batteries
- Negative Grounding Design and advanced MPPT control algorithm make it charging efficiency no less than 99.5 Percentage , it maximize the charging power as a way of saving the energy.
- Designed for RVs, cabins, homes, boats, back-up and remote power use. The two solar panels can be wired in parallel for 12V battery charging or in series for 24V battery charging
- 25-year transferable power output warranty on panels and 1-year warranty on rest of the kit components



John Public –
Have been sampling numerous brands of 100W panels. Not easy because you have to test them in full sun on a fairly short time frame on a clear sunny day. They also have to be in a fairly optimal orientation. Otherwise you get the screwy results many reviewers complain about. Useful comparisons are against other panels in the same conditions, not against the published STC conditions YOU DO NOT HAVE when running your test!
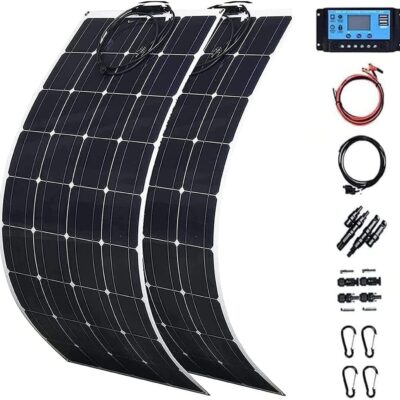
All three Acopower panels generated 90-93 Watts each. Most other vendors panels, including 9BB and 10BB, generated 80-85 Watts. Flexible panels scored poorly, with two supposed 120 Watt panels generating no more than 52 Watts.
Interesting that they have black frames, given they are sitting in full sun. Does not appear to impact performance as they dominated the silver aluminum panels.
I like them very much and am buying more.
Note: I have not done partial shading tests so far because I plan to mount final setup in full sun location. 9BB and 10BB panels SHOULD do better in shaded conditions.
Annon –
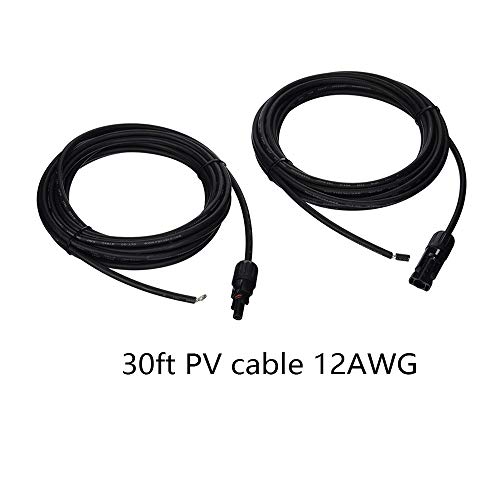
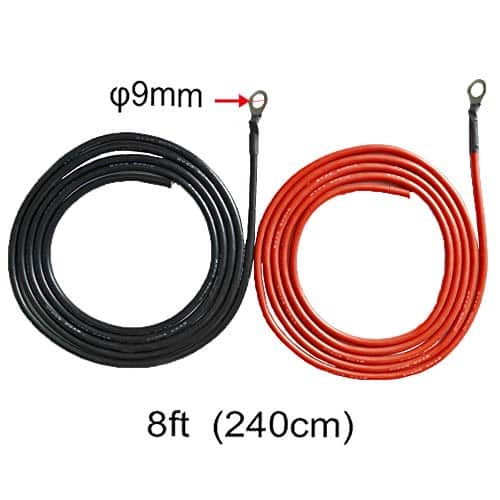
Just finished install of 400 w mono crystaline panel kit on my 24 ft travel trailer.. Order arrived a week ahead of schedule! Packaging of panels and accessories was very secure. All listed parts were included. For a 4 panel system you will need to order extra MC4 connectors for the long cable runs. I bought a kit that also included the crimper. GET THE CRIMPER and DO THESE CORRECTLY! (The crimp goes on the stripped bare wire not over the plactic wire insulation!) The supplied 10 ga cable was adequate but I needed just a bit more of the 8 gauge wire from controller to battery. ( Routing this system for a travel trailer is more challenging than on 5th wheel or Motor home) You will need to supply tape mastic and sealant for installing panel mounting brackets and roof gland. I also added a 30 AMP circuit breaker in the postive line before the controller. Also a 40 amp circuit breaker on positive line between the controller and battery.
I installed the controller in the front bedroom and ran cable to battery through a hollow compartment below, drilled throught the floor and tied up the cable to the frame ’till it reached the battery. I used plastic surface mount conduit to cover the wire from the ceiling to the controller. Also used a plastic box to hide the 30 amp circuit breaker. The 40 amp breaker is hidden in my hollow compartment below. I also added a 10 amp blade fuse in an inline holder to the positive line of each panel. ( you might see the red wire and fuse holders in my roof wire runs. After I had it all working I put the roof cable in plastic split loom type tubing for neatness and extra protection. Then fastened it all with cable ties to available brackets and points. When I plugged it all in and turned it on, Presto! It Worked!
Making good connections is important. I ended up re-making most of my MC4 conections for my 10 amp fuses and long wire runs after discovering I had done thm incorrectly! Same with connections to controller. The wire is stiff.
Only finished today. We will give it a 6 day trial run next week. We are in cloudy Oregon so I do’t expect big amperage output till the sun comes out.
Annon –
I got a great deal on these a couple weeks ago, I have only used a couple times to charge my goal zero lithium 400 power bank. However rated at 100w, the most I was able to pull from them was 51watts on bright sunny day, no clouds. I also have a goal zero 100w briefcase panels and most i got from those were 82w same conditions (bright sun, no clouds), so while they look great, and work I’m wondering about efficiency specs, etc. My goal zero briefcase cost me $300, but this panel was under $100 and the briefcase is made up of two 50 watt panels, so i’m still learning about solar and how using multiple panels and how you hook them up (ie. parallel, vs series, etc.) can affect input and what controllers can handle, etc. For the price this 100w was great value, so I will plan to purchase a few more, but wait till they go on sale again. Price seems to fluctuate $80-$100 and occasionally see $15-20 coupons to apply and click to save more. This order after coupons cost me around $65 which is great value, but week later saw they had different coupon and could have gotten for $60, now see back to $100 no coupon so I’ll wait, but will buy when on sale…
Coon16 –
Ordered 6 of them and they must have came out with a different model bc the 6th panel was still a 100w but different voltage and amp output, and was 3inches taller and 1 inch wider, was also a different price but now it’s back to its original 93 after taxes
Joe T. –
I’ve been searching for a solar panel solution for the roof rack on my DIY minivan camper. I have battery power station running a 12v fridge freezer, some fans, a small coffee pot, small microwave, a blender and a few other comfort items. So I needed more than the typical 100 watt panel. I looked at 300+ watt panels made for houses, but they weren’t the right size for my application.
I finally purchased 3 of the 100 watt black-frame panels from ACO Power. They had good reviews and they look better than any other panels out there. The black frames are very sleek. I got 160+ watts on first test, but the sun was hiding and the angle wasn’t ideal. In full sun directly overhead I was able to get 275+ watts which awesome.
Having tested the panels, it was time to mount them. I bolted the panels together (side by side), then mounted a small metal conduit pole to serve as a ‘hinge’ so I can tilt it as needed. I have mounted steel eyebolts on my roof rack that the ends of the poles will slide into. That’s as far as I’ve gotten.
I’ll post an update after I finish mounting and do some highway road-tests. But I’m happy with the panels so far. They look great, they don’t weigh too much and they produce plenty of watts.